
Mastering Framing and Drywall Techniques
When it comes to building or renovating a space, mastering framing and wall techniques is essential. These skills form the backbone of any construction project, whether it’s a cozy home or a bustling commercial space. I have found that understanding the basics and applying practical methods can make a significant difference in the quality and durability of the finished product. In this post, I will walk you through key aspects of framing and drywall installation, share tips on estimating materials, and provide actionable advice to help you achieve professional results.
Understanding Framing and Wall Techniques
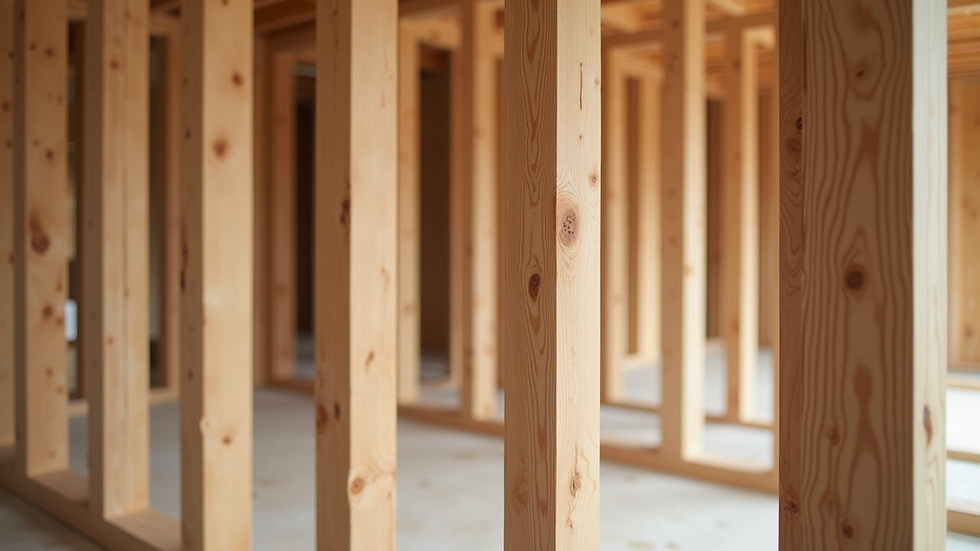
Framing is the process of creating the structural skeleton of a building. It involves assembling wood or metal studs to form walls, floors, and ceilings. Proper framing ensures that the building is strong, stable, and ready to support drywall and other finishes. Wall techniques refer to the methods used to install drywall, tape, mud, and finish the surfaces to create smooth, paint-ready walls.
The first step in framing is to measure and mark the layout on the floor and ceiling. This ensures that studs are placed correctly, usually 16 or 24 inches apart, depending on the load requirements. Using a level and square is crucial to keep everything straight and plumb. Once the frame is built, it’s time to install insulation if needed, then hang drywall sheets.
Drywall installation requires careful handling to avoid damage. Sheets should be cut precisely to fit around doors, windows, and electrical outlets. Screws or nails must be driven just below the surface without breaking the paper facing. After hanging, the joints between sheets are taped and covered with joint compound in several layers. Sanding between coats creates a smooth finish.
Essential Framing and Wall Techniques for Quality Results
To achieve the best results, focus on these essential framing and wall techniques:
Use quality materials: Choose straight, dry lumber or metal studs free of warping or defects. This prevents uneven walls and structural issues.
Maintain consistent stud spacing: Stick to 16 or 24 inches on center. This spacing supports drywall sheets properly and ensures stability.
Check for level and plumb: Use a level frequently during framing to avoid crooked walls.
Cut drywall accurately: Use a utility knife and straight edge to score and snap drywall sheets cleanly.
Secure drywall properly: Use drywall screws spaced about 12 inches apart on walls and 8 inches on ceilings.
Apply joint compound in thin layers: Multiple thin coats dry faster and reduce cracking.
Sand carefully: Use fine-grit sandpaper and avoid over-sanding to prevent damage to drywall paper.
These techniques help prevent common problems like cracked joints, uneven walls, and nail pops. Taking the time to do each step right pays off in a professional-looking finish.

How do you estimate drywall and framing?
Estimating materials accurately is crucial for budgeting and project planning. Here’s how I approach estimating drywall and framing:
Measure the area: Calculate the total square footage of walls and ceilings to be covered. Multiply length by height for each wall, then add ceiling area.
Calculate drywall sheets needed: Standard drywall sheets are 4 feet by 8 feet (32 square feet). Divide total square footage by 32 to get the number of sheets. Add 10-15% extra for waste and cuts.
Estimate framing lumber: For walls, count the number of studs needed by dividing the wall length by stud spacing (16 or 24 inches). Add extra for top and bottom plates, headers, and blocking.
Include fasteners and accessories: Screws, nails, joint tape, and compound should be estimated based on manufacturer recommendations per square foot.
Account for openings: Subtract areas of doors and windows from drywall and framing calculations but include additional framing for headers and trimmers.
Using these steps helps avoid costly shortages or excess materials. I recommend double-checking measurements and consulting with suppliers or professionals when possible.

Tips for Efficient Drywall Installation
Efficiency in drywall installation saves time and reduces labor costs. Here are some tips I use to speed up the process without sacrificing quality:
Plan your cuts: Measure and mark drywall sheets before cutting to minimize mistakes.
Use a drywall lift: For ceilings, a lift holds sheets in place, making installation safer and faster.
Work in teams: One person can hold sheets while another secures them.
Pre-drill holes for screws: This prevents drywall cracking and speeds up fastening.
Apply joint tape immediately: Taping as you go reduces drying time between coats.
Keep tools organized: Having all tools within reach prevents unnecessary delays.
Following these tips helps maintain a steady workflow and ensures a smooth, professional finish.
Final Thoughts on Framing and Wall Techniques
Mastering framing and wall techniques is a valuable skill set for any construction or renovation project. By focusing on precise measurements, quality materials, and proper installation methods, you can create strong, durable walls that look great and stand the test of time. Whether you are working on a small home project or a large commercial build, attention to detail in framing and drywall installation makes all the difference.
If you want expert help or advice, consider reaching out to framing and drywall professionals who understand the unique needs of projects in the St. Louis area. Their experience can save you time, money, and stress while delivering top-notch results.
With the right approach and knowledge, you can confidently tackle framing and drywall tasks and transform your space with lasting quality.
Related services and next steps: Complete Basement Finishing • Commercial Drywall & Metal Framing • Request an Estimate
Comments