
Step-by-Step Basement Finishing Guide
- Salem Developments
- 2 days ago
- 4 min read

Finishing a basement is one of the best ways to add valuable living space to your property. Whether you want a cozy family room, a home office, or an entertainment area, a finished basement can transform an underused space into something truly functional and inviting. I will walk you through a clear, step-by-step basement finishing guide that covers everything from planning to the final touches. This guide is designed to help you understand the process and make informed decisions every step of the way.
Planning Your Basement Finishing Guide
Before you start any work, planning is essential. A well-thought-out plan saves time, money, and frustration. Begin by assessing your basement’s current condition. Look for signs of moisture, cracks in the foundation, or any structural issues. Addressing these problems before finishing is critical to avoid future damage.
Next, decide on the purpose of your finished basement. Will it be a guest bedroom, a playroom, or a home gym? Your intended use will influence the layout, lighting, and materials you choose. Sketch a rough floor plan, including walls, doors, and windows. Consider the placement of electrical outlets, plumbing, and heating vents.
Budgeting is another key part of planning. Determine how much you are willing to spend and allocate funds for materials, labor, permits, and unexpected expenses. Keep in mind that quality materials and professional help often pay off in the long run.
Finally, research local building codes and regulations. This will help you understand what is allowed and what permits you might need. A good plan sets the foundation for a smooth basement finishing project.

Preparing the Basement for Finishing
Once your plan is in place, preparation begins. Start by cleaning the basement thoroughly. Remove any debris, old insulation, or items stored in the space. This gives you a clear area to work and helps identify any hidden issues.
Check for moisture problems. Basements are prone to dampness, which can cause mold and damage. Use a dehumidifier if necessary and seal any cracks in the foundation with waterproof sealant. Installing a vapor barrier on the walls and floors can also help keep moisture out.
Next, address insulation. Proper insulation keeps the basement warm and energy-efficient. Use foam board or fiberglass insulation between the studs. Make sure to cover all exterior walls and any areas where pipes or ducts run.
Electrical and plumbing rough-ins come next. If you plan to add lighting, outlets, or a bathroom, now is the time to install wiring and pipes. Hiring licensed professionals for this step ensures safety and compliance with codes.
Finally, frame the walls and ceiling. Use treated lumber to build the framework, leaving space for insulation and utilities. This step creates the structure for drywall installation and defines the rooms in your basement.

Do I Need a Permit to Finish My Basement in Missouri?
Understanding permit requirements is crucial before starting your basement finishing project. In Missouri, most finishing projects require a building permit. This ensures that your work meets safety standards and local building codes.
Permits are typically needed for structural changes, electrical work, plumbing, and HVAC installations. Even if you are doing some of the work yourself, obtaining the proper permits protects you and your property.
To get a permit, submit your plans to the local building department. They will review your project and may require inspections at various stages. While this process might seem time-consuming, it helps avoid costly mistakes and legal issues.
If you are unsure about permit requirements, consult with a professional contractor or your local building office. They can guide you through the process and help you stay compliant.
Installing Drywall and Finishing Touches
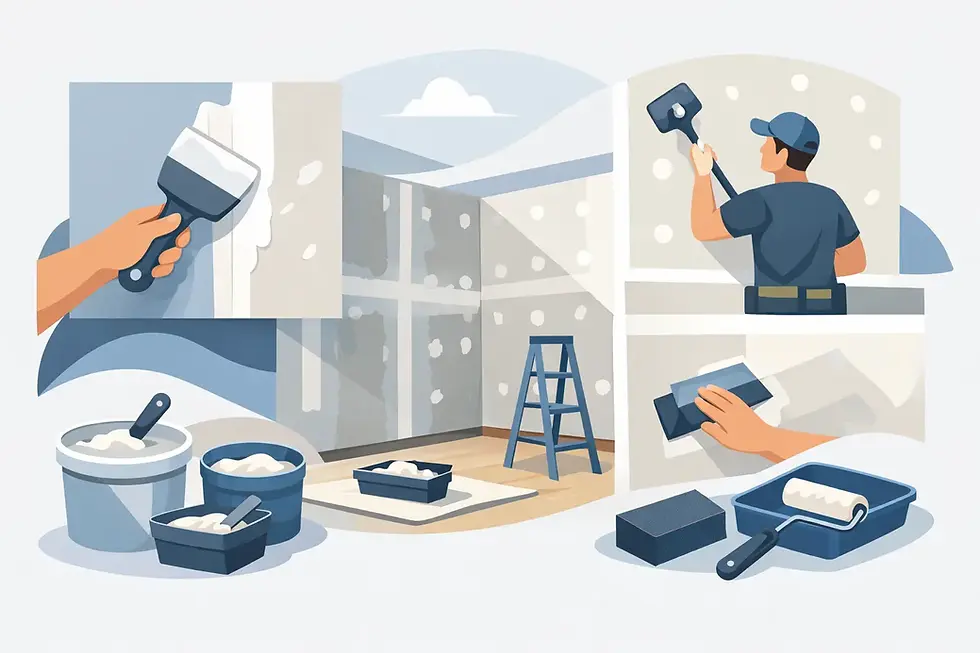
With framing and utilities in place, it’s time to install drywall. Drywall creates smooth, finished walls and ceilings. Measure and cut drywall sheets to fit your framed walls. Secure them with drywall screws, making sure to avoid electrical boxes and plumbing.
After hanging drywall, tape and mud the seams. This process involves applying joint compound and drywall tape to cover gaps and screws. Sand the dried compound to create a smooth surface ready for painting.
Painting is the next step. Choose light, neutral colors to brighten the basement and make it feel more spacious. Use mold-resistant paint to protect against moisture.
Flooring options vary depending on your needs. Carpet adds warmth and comfort, while vinyl or tile offers durability and easy maintenance. Consider installing a subfloor to prevent cold and dampness from affecting your flooring.
Finally, add trim, baseboards, and any built-in shelving or cabinetry. These finishing touches complete the look and add functionality to your new space.
Enhancing Your Finished Basement
Once the basics are done, think about how to make your basement truly comfortable and inviting. Lighting plays a big role. Combine overhead lights with lamps or wall sconces to create a warm atmosphere. Use dimmers to adjust brightness as needed.
Furniture selection depends on your basement’s purpose. For a family room, choose comfortable seating and a media center. For a home office, invest in ergonomic desks and chairs. Storage solutions like shelves and cabinets help keep the space organized.
Don’t forget about ventilation. Basements can feel stuffy, so consider adding vents or a small HVAC system to improve air circulation.
If you want to increase your home’s value, consider adding a bathroom or kitchenette. These features make the basement more functional and attractive to future buyers.
For those looking for professional help, basement finishing st louis offers expert services tailored to your needs. They provide quality drywall and framing work that ensures your basement looks great and lasts for years.

Making Your Basement a Lasting Investment
Finishing your basement is more than just a renovation - it’s an investment in your property’s value and your quality of life. By following this step-by-step basement finishing guide, you can create a space that meets your needs and stands the test of time.
Remember to maintain your basement regularly. Check for signs of moisture, inspect the walls and floors, and keep the space clean. Proper maintenance prevents problems and keeps your finished basement looking its best.
Whether you tackle the project yourself or hire professionals, careful planning and attention to detail are key. A well-finished basement adds comfort, functionality, and value to your home or business.
Take your time, follow the steps, and enjoy the transformation of your basement into a beautiful, usable space.


Comments