
How to Frame Basement Walls the Right Way
- Salem Developments
- Apr 27
- 6 min read

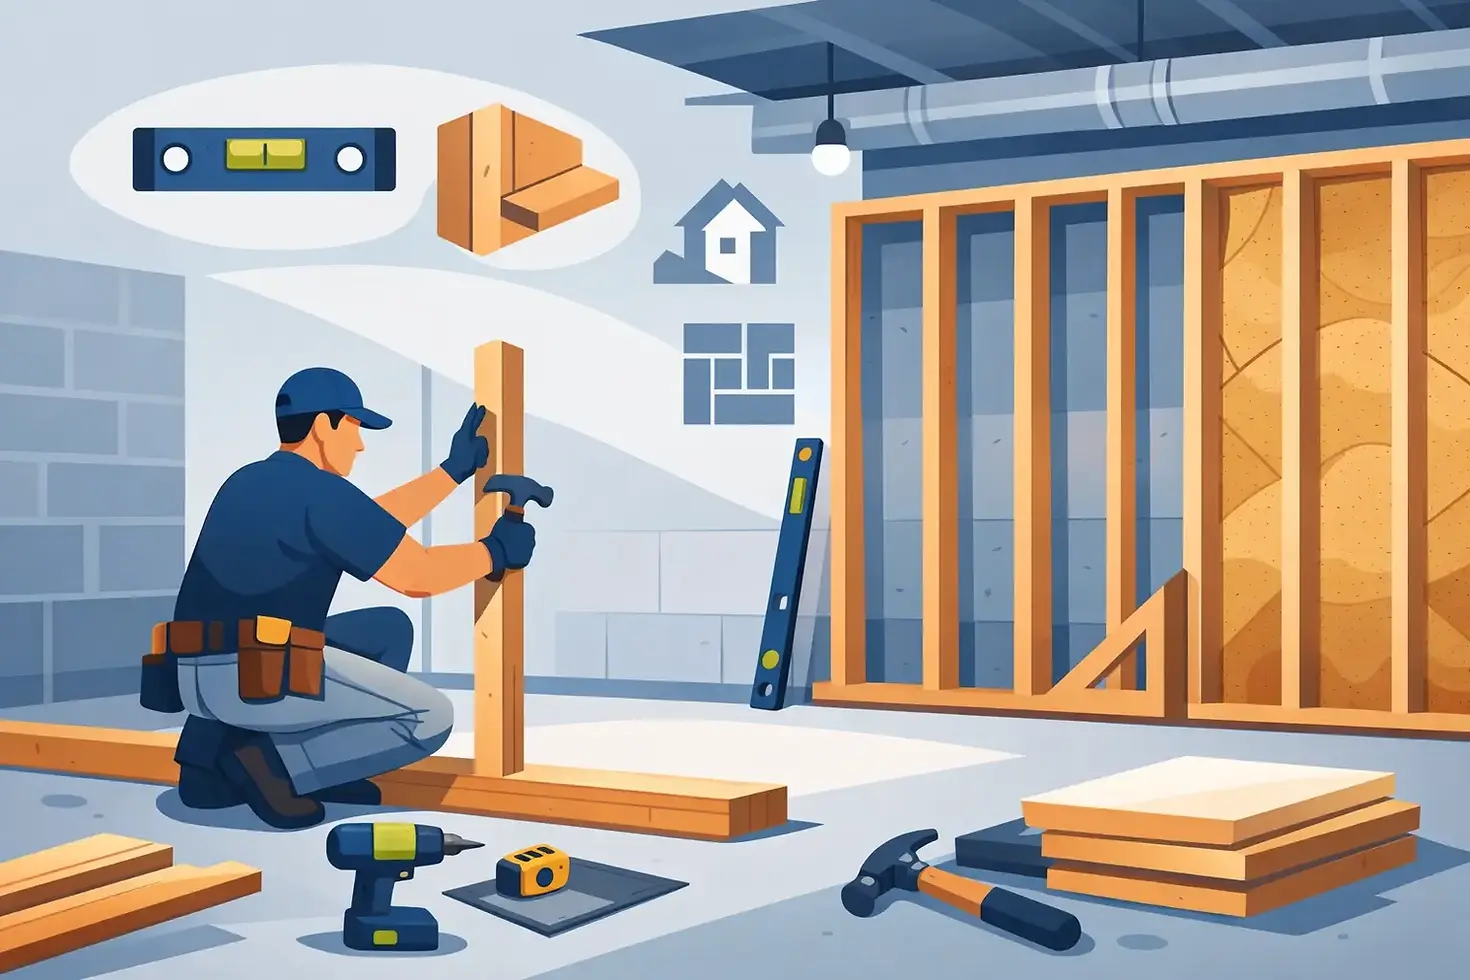
A basement can look simple when it is wide open concrete and exposed joists. Then the framing starts, and that is where costly mistakes usually happen. If you want to know how to frame basement walls, the real job is not just standing up studs. It is planning for moisture, keeping walls straight on uneven slabs, and leaving room for insulation, wiring, and drywall so the finished space performs the way it should.
That matters whether you are finishing a family room, building out a rental space, or preparing a commercial lower level for tenant use. Basement framing has less margin for error than above-grade walls. Concrete moves moisture, floors are rarely perfectly level, and one bad layout decision can create problems all the way through drywall and trim.
How to Frame Basement Walls Without Creating Problems Later
The first decision is whether the wall should sit tight to the foundation or be held off slightly. In many basements, leaving a small gap between the framed wall and the concrete foundation is the better move. That space helps account for irregular foundation surfaces and reduces direct contact between framing lumber and a surface that can carry moisture.
Before any framing goes in, the basement needs to be checked for water issues. If there is active seepage, staining, musty odor, or signs of past flooding, framing should wait. Covering a moisture problem with studs and drywall does not solve anything. It just turns a visible issue into a hidden repair bill.
Once the space is dry and ready, the layout needs to be snapped carefully. This is where a lot of DIY basement jobs go sideways. Contractors do not just start in one corner and hope the room works out. They look at the whole plan first - future doors, soffits, utility access, electrical runs, plumbing lines, and how drywall sheets will land. A wall that is framed in the wrong spot by even an inch or two can throw off the rest of the basement.
Start With the Bottom Plate and Top Plate Layout
Most basement walls are built with a treated bottom plate and standard kiln-dried lumber above that. The treated plate matters because it sits against concrete, and concrete can transfer moisture over time even in a basement that seems dry.
The bottom plate is usually anchored to the slab after the wall line is established. The top plate gets laid out to match, either directly under floor joists or attached to blocking where needed. In older basements, joists may not run where you want your wall, so backing or blocking may be required before the top plate can be secured properly.
This stage has to be square and intentional. If the plates are off, the studs will be off, the drywall will show it, and every finish detail after that gets harder. You can hide very little in a basement with recessed lights, painted walls, and modern trim.
Dealing With Uneven Concrete Floors
Basement slabs are rarely flat enough to trust without checking. Some are low in the center. Some pitch toward a drain. Some rise and fall enough to affect stud lengths across a single wall.
That is why experienced framers measure repeatedly instead of cutting every stud to one identical size. In some basements, it makes more sense to build the wall in place. In others, it is faster to assemble sections on the floor and raise them. It depends on ceiling height, obstructions, and how much variation there is in the slab.
If the floor is badly uneven, shimming and scribing may be necessary to keep the wall plumb. Rushing this part creates crooked walls that become obvious as soon as drywall is installed.
Stud Spacing, Openings, and Utility Planning
In most basement finishing projects, wall studs are laid out at 16 inches on center, though some non-load-bearing walls may be framed at 24 inches on center depending on the design, drywall requirements, and code expectations. The right spacing is not just about lumber use. It affects drywall stiffness, backing for finishes, and overall wall quality.
Door openings need to be framed with the finished plan in mind, not just rough guesses. Basement ceilings are often lower, and mechanical lines may force smaller headers, shifted openings, or tight transitions at hallways and utility rooms. If you are adding closets, storage rooms, or bathroom walls, the framing should anticipate those finish details from the start.
This is also where utility coordination matters. Basements often have ductwork, water lines, cleanouts, electrical panels, and support columns that need to stay accessible. Good framing works around those elements cleanly. Bad framing boxes them in and creates problems for inspectors, service access, or the final look of the room.
Framing Around Pipes, Beams, and Obstructions
Few basements are open boxes. Most have a mix of steel posts, trunk lines, dropped beams, and plumbing stacks. These features need to be integrated into the framing layout so the finished basement looks intentional.
Sometimes that means furred-out sections. Sometimes it means soffits. Sometimes it means accepting that one wall cannot be perfectly aligned with another because a beam or mechanical chase controls the depth. This is where practical experience matters more than theory. A clean basement finish often depends on making smart compromises that still leave the space functional and attractive.
Moisture, Insulation, and Air Gaps Matter More Than People Think
One of the biggest mistakes in basement framing is treating it like first-floor framing. It is not the same environment. Concrete foundation walls can carry moisture, temperatures fluctuate differently below grade, and the wrong wall assembly can trap condensation.
That is why the framing plan should work with the insulation strategy, not fight it. In some basements, rigid foam against the foundation wall is part of the system before framing. In others, a framed wall is held off the concrete to allow room for insulation details and better moisture management. The right approach depends on the wall condition, local code requirements, and how the basement will be used.
What should not happen is direct framing against damp foundation walls with no real plan for moisture control. That approach may look fine at first, but it tends to show its flaws later through odor, mold risk, or drywall damage.
Fasteners, Anchoring, and Code Considerations
Basement walls may be non-load-bearing in many finishing projects, but they still need to be anchored securely. Bottom plates are typically fastened to the slab with concrete anchors or approved fasteners. Top plates need solid attachment as well, especially where drywall ceilings, doors, or trim transitions depend on a rigid frame.
Code details can vary based on use, ceiling height, egress requirements, fire blocking, treated lumber requirements, and whether the basement includes bedrooms, bathrooms, or commercial occupancy. That is one reason many property owners bring in a contractor instead of piecing the job together themselves. The wall is not just a wall. It is part of a larger finished system that has to pass inspection and hold up over time.
When a DIY Approach Stops Making Sense
If the basement is wide open, dry, and straightforward, some owners can handle basic framing. But once the project includes multiple rooms, plumbing walls, ceiling drops, or a full finishing package, mistakes get expensive fast. A crooked framed wall affects drywall. Bad backing affects cabinets and trim. Poor layout creates awkward door swings, wasted square footage, and patchwork-looking soffits.
That is especially true when the goal is a polished finished basement rather than a rough utility partition. Homeowners and investors usually want the lower level to look like part of the house, not like an afterthought. Commercial owners want the same thing for office, tenant, or service space - clean lines, reliable execution, and no surprises during finishing.
For that reason, framing is often the point where it makes sense to hand the project to a contractor who can carry it from layout through drywall and finish work. That is where a one-contractor approach saves time and prevents finger-pointing between trades. Companies like St. Louis Drywall Pros handle that sequence every day, which matters when basement framing has to line up with insulation, drywall, texture, paint, and trim.
What Good Basement Framing Really Looks Like
Good basement framing is straight, plumb, dry, and planned around the finished space. The walls sit where they should. The rooms make sense. Mechanical access is preserved. Drywall has proper backing. Doors and corners look intentional. Nothing feels forced.
That is the standard to aim for when figuring out how to frame basement walls. The lumber itself is only part of the job. The real value is in getting the layout, moisture control, and finishing coordination right the first time.
If you are planning a basement project, think beyond the studs. A well-framed wall should make every step after it easier, not harder.


Comments