
Drywall Finishing Levels Explained Clearly
- Salem Developments
- Apr 23
- 6 min read

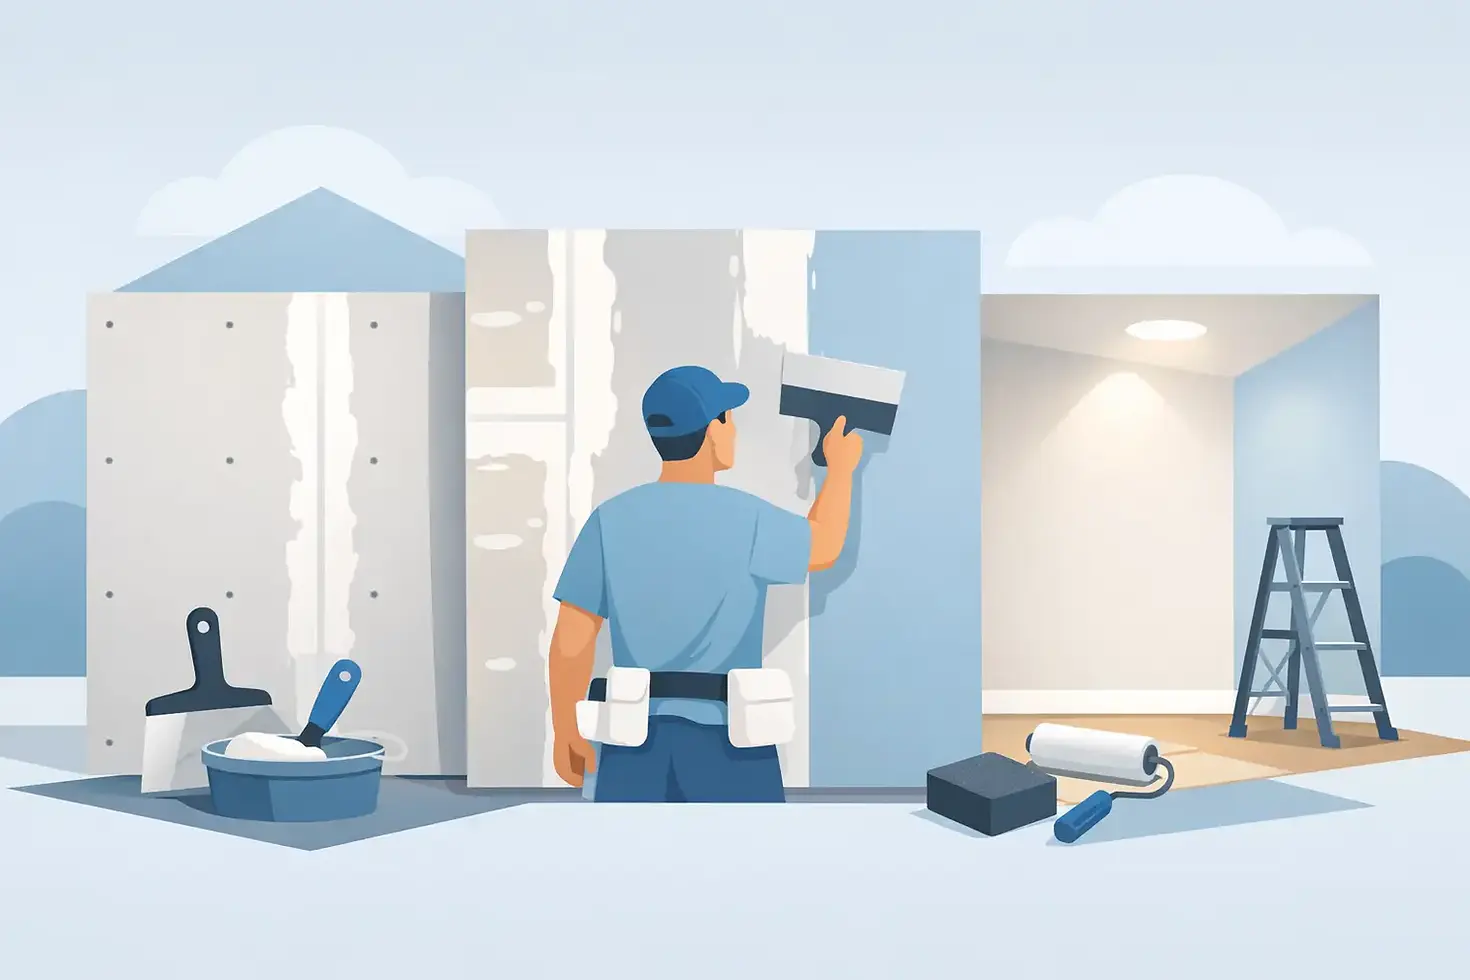
If a room is getting painted, textured, or prepped for tenants, the drywall finish level matters more than most people realize. Drywall finishing levels explained in plain terms can save you from visible seams, bad light lines, and paying for a finish your project does not actually need.
A lot of problems start when the finish level is never defined. The board gets hung, mud gets applied, and everybody assumes they are talking about the same result. Then the painter shows up, the owner expects smooth walls, and the finished surface says otherwise. That is where understanding Levels 0 through 5 becomes useful, especially for remodels, basement finishing, tenant improvements, and commercial build-outs.
Drywall finishing levels explained for real projects
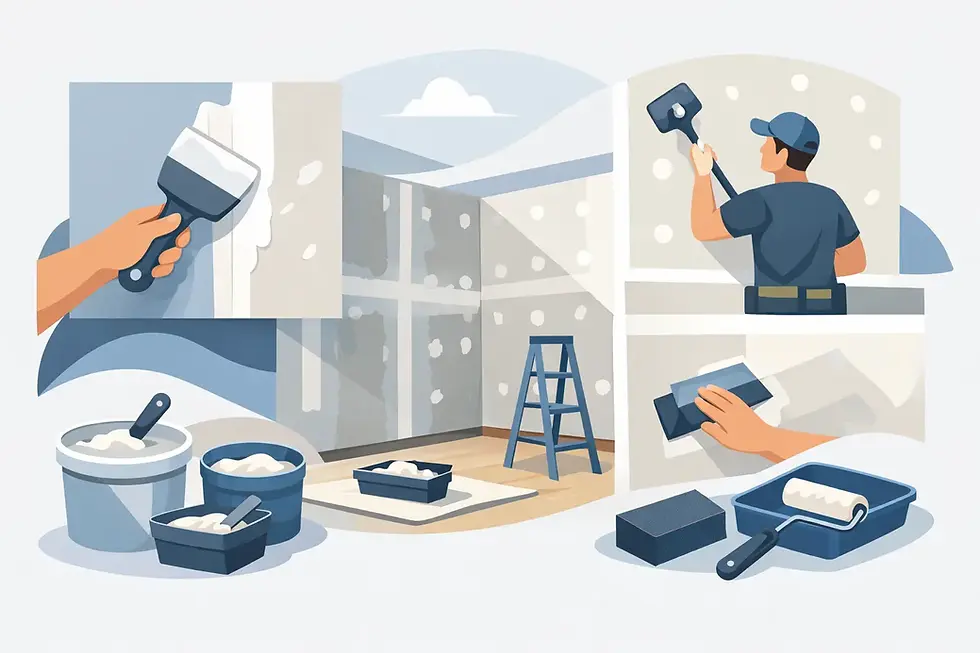
Drywall finish levels are a standard way to describe how much taping, mudding, and surface prep is done before the final wall treatment. They set expectations for appearance, labor, and cost. Higher levels usually mean more labor and a smoother result, but not every space needs the highest level.
That is the key point. A garage, utility room, office back area, and high-end living room do not need the same finish. Choosing the wrong level either wastes money or creates a wall that looks unfinished once the paint goes on.
Level 0
Level 0 means the drywall is hung, but there is no tape, no joint compound, and no finishing work. This is common when the space is still in progress or when the final finish is being delayed.
You might see Level 0 in new commercial construction before final trade coordination is complete, or during a remodel phase when walls are not ready for finishing yet. It is not a finished condition and should not be treated like one.
Level 1
Level 1 includes tape embedded in joint compound, but the surface is left rough. Tool marks and ridges are acceptable. This level is usually reserved for areas hidden from view, like plenum spaces above ceilings or service areas not open to occupants.
For most homes and occupied commercial interiors, Level 1 is not enough. It is functional, not presentable.
Level 2
Level 2 adds a thin coat of compound over taped joints and fasteners. The surface is still not meant to look polished, but it is a step up from a basic tape embed.
This level is often used where tile will cover the drywall, such as some bathroom walls, utility spaces, warehouses, or garages. If appearance matters even a little, this is usually still too rough for paint.
Level 3
Level 3 includes taped joints plus an additional coat of compound over joints and fasteners. The finish is more uniform, but it is generally intended for medium to heavy wall texture rather than smooth paint.
This is where people sometimes get tripped up. Level 3 can work well if a knockdown, orange peel, or similar texture is going over the wall. If the plan changes and someone decides to use flat paint on a smooth wall, imperfections can show fast.
Level 4
Level 4 is the standard finish for many painted interior spaces. It includes taped joints and multiple coats of joint compound over joints and fasteners, then sanding for a smoother surface. This is commonly used for residential walls, offices, and most standard finished rooms.
For a lot of projects, Level 4 is the right balance of appearance and cost. It works well with flat paints, light textures, and typical room lighting. But it is not perfect for every condition. If the wall will get gloss paint or strong side lighting from large windows, Level 4 may still reveal joints and surface variations.
Level 5
Level 5 is the highest finish level and adds a skim coat or equivalent surface treatment over the entire drywall face. This creates the most uniform surface possible before priming and painting.
It is the best choice for areas with critical lighting, high-end smooth wall finishes, or darker and glossier paints that highlight flaws. Lobbies, upscale living areas, conference rooms, and spaces with long walls under direct light often benefit from Level 5. It costs more because it takes more labor, but in the right setting it prevents expensive disappointment later.
How to choose the right drywall finish level
The right finish level depends on what the wall will look like when the project is done, not just what it looks like after mudding. Paint sheen, texture, lighting, and room use all matter.
If the wall will be hidden above a ceiling or in a mechanical area, a low level is fine. If it will be covered by tile, the finish does not need to be furniture-grade. But if it is a living room wall facing a bank of windows, or a commercial hallway with bright side lighting, cutting corners on finishing usually shows up right away.
Texture also changes the conversation. Heavier textures can hide minor imperfections and let you stop at Level 3 in some cases. Smooth painted walls are less forgiving, especially in remodeled basements and open living spaces where lighting angles expose every seam.
Budget matters too, but this is where experience matters more than guesswork. Spending less upfront on finishing can lead to more painting prep, more patching, and more frustration after the job is supposedly complete. A good contractor helps match the finish level to the space so you are not paying for Level 5 in a storage room or settling for Level 3 in a front office.
Where finish levels matter most
Residential remodels often need a closer look because old framing, patched areas, and mixed surfaces can make a wall harder to finish cleanly. A basement project, for example, may include new drywall next to existing ceilings, boxed beams, utility chases, and patched corners. In that kind of space, the finish level and the texture strategy should be planned together.
Commercial work has its own pressure points. Offices, restaurants, schools, senior living spaces, and tenant improvements often have long corridors, bright lighting, and strict turnover schedules. If the finish level is not clearly defined in the scope, the risk of rework goes up. That can affect paint schedules, inspections, and final punch lists.
In both settings, ceilings deserve special attention. Ceiling surfaces usually show flaws faster than walls because light hits them differently and viewers see them from multiple angles. A ceiling that looks acceptable at first glance can still show joints once primer and paint are applied.
Common mistakes when finish levels are not specified
The most common mistake is assuming all drywall finishing means the same thing. It does not. One person may expect a paint-ready smooth wall while another is pricing a basic taped finish intended for texture.
Another problem is changing the finish after the work is underway. If a project starts with a texture plan and later switches to smooth painted walls, the original finish level may not support that change. That means extra coats, more sanding, and additional cost.
Lighting is another issue people underestimate. Walls that look fine under work lights can show defects once natural light or permanent fixtures are in place. That is why experienced finishers ask about windows, fixture layout, and final paint choices before calling a wall ready.
Then there is the repair factor. Patches, water damage areas, and additions rarely blend well without proper finishing. Matching an existing wall is not just about putting mud on the seam. It takes judgment, especially when tying new drywall into old surfaces with existing texture or years of paint buildup.
Why workmanship matters as much as the level itself
A stated finish level is only part of the job. The crew still has to execute it correctly. Poor taping, rushed drying times, over-sanding, underfilled fasteners, and bad corner work can ruin a Level 4 or Level 5 result.
That is why the contractor matters. The right team does more than apply compound. They look at framing conditions, board layout, bead installation, surface transitions, and the final finish plan. If painting, texture matching, or trim work is also part of the project, coordination matters even more because each stage affects the next one.
For property owners and project managers, this is where hiring one capable contractor can make the process simpler. When the same team handles framing, hanging, finishing, texture, and paint prep, there is less finger-pointing and fewer finish problems passed from one trade to the next.
Drywall finishing levels explained for smoother results
If you are comparing bids, ask what finish level is included and where it applies. Not every room has to be finished the same way. A straightforward scope is better than a vague promise of finished drywall.
On many projects in St. Louis County, the smartest approach is not the most expensive one. It is the finish level that fits the room, lighting, and final design without leaving visible flaws behind. That is the difference between a job that simply gets closed out and one that actually looks right when people start using the space.
When the finish level is chosen correctly from the start, everything downstream gets easier - painting, trim installation, punch work, and final approval. That kind of planning saves time, controls cost, and gives you walls and ceilings that hold up visually long after the crew is gone.


Comments